Reverse Image Search: How It Works and How to Get Good Results
A reverse image search starts with a picture, not a word. You upload a photo and the search engine looks for the same photo, or one that looks like it, somewhere on the web. This page on DuplicateDetective sends your photo to four engines at once — Google Lens, Bing, Yandex and TinEye — and opens each result in a new tab so you can flip through them quickly.
The rest of this page covers what each engine is good at, a walk-through for finding the first time a viral photo was posted, the privacy of your upload, and the most common questions we get.
How a reverse image search actually finds matches
Search engines do not compare your photo pixel-by-pixel against billions of others. They turn each image into a short list of numbers — a "fingerprint" of its colours, edges, textures and the shapes inside it. Two photos that look alike get fingerprints that are close to each other. The engine looks up that fingerprint in its index and shows you the photos with the closest match.
Because the fingerprint is based on what the photo looks like rather than the exact pixels, the same photo can be found again even after it has been cropped, resized, recoloured or watermarked. Google Lens goes a step further: it also reads the photo for objects ("a leather sofa", "the Eiffel Tower") and uses those words as extra search terms, which is why it often finds shopping links and landmark names.
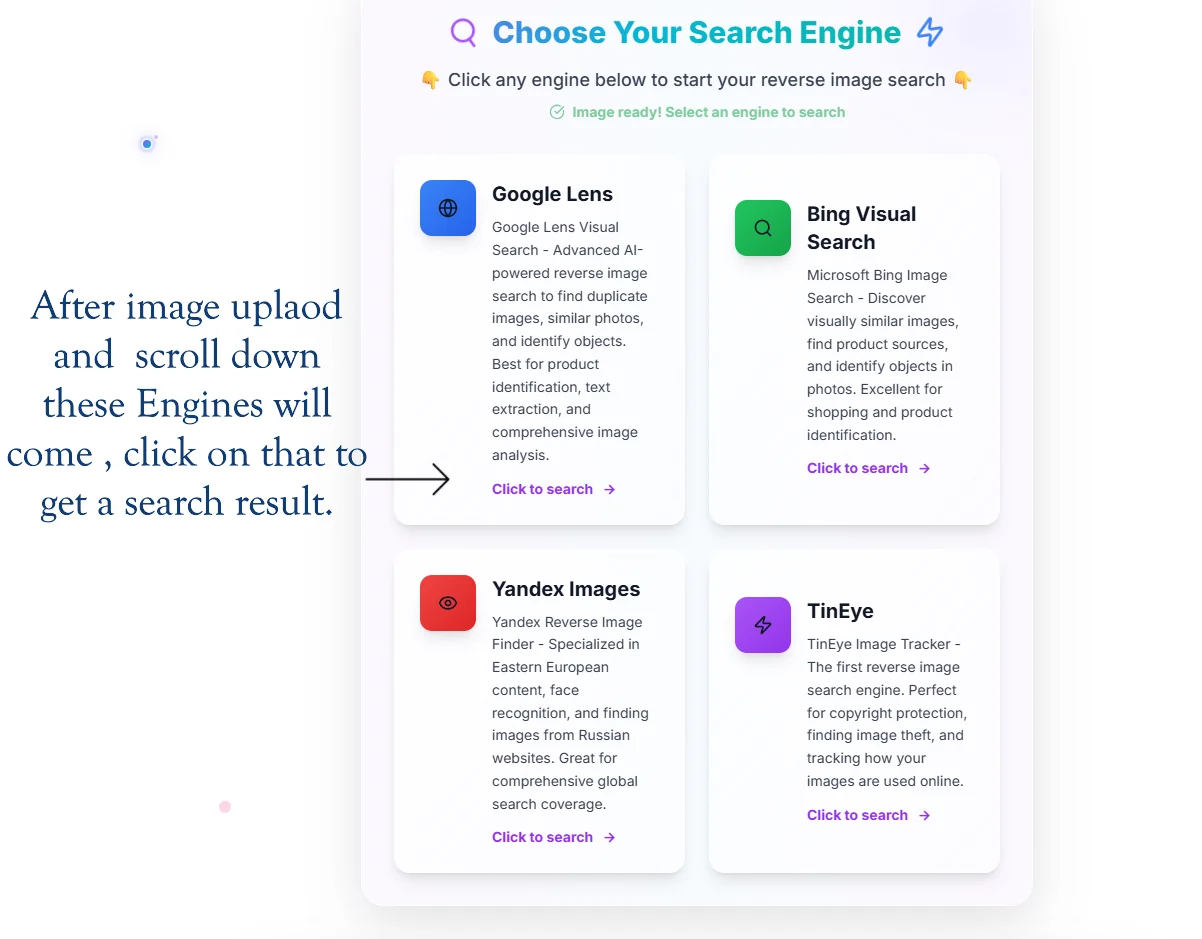
Google Lens vs. Bing vs. Yandex vs. TinEye — what each one is best for
No single engine indexes the whole web. Google's index is the biggest but it leaves gaps. Yandex crawls many sites Google ignores, especially in Russia and Central Asia. TinEye is the only one that lets you sort by the date a photo first appeared. We run all four at once because the same photo often shows up on different engines, and the gaps are different on each.
| Engine | Best for | Index size | One thing it does that the others don't |
|---|---|---|---|
| Google Lens | Products, landmarks, text in images | Largest, billions of pages | Reads text inside the photo (OCR) and uses it as a search term |
| Bing Visual Search | Shopping, price checks | Very large | Lets you draw a box around one object in the photo and search only that |
| Yandex Images | Faces, profile photos, Russian-language sites | Large, strongest in Russia and CIS countries | Face match — finds other photos of the same person, not just the same picture |
| TinEye | Tracking who used a photo first | 70+ billion images indexed | Sort results by date so you can see the oldest known copy |
A rough rule: pick TinEye when you want to know who posted a photo first; pick Yandex when you want to know if the person in a profile picture is real; pick Google Lens or Bing when you want to buy the item you can see in the photo.
Step-by-step: find the first time a viral photo was posted
This is the most common reason people come to this tool. Say you see a striking photo on X or Reddit and you want to know who shared it first — was it a witness on the ground, or an old image being passed off as new? Here is the order we use ourselves:
- Save the photo at the largest size you can. On X, open the image in a new tab and remove
?name=smallfrom the URL so you get the original. On Reddit, click "Open image in new tab". - Upload it here and click TinEye first. In the TinEye results, change the sort to Oldest. The first page that shows the image is often weeks or years before the post you saw.
- Click Yandex next. If the photo has a face in it, Yandex will often show other photos of the same person. That can confirm who took the photo, or show you that a "victim" in a viral post is actually a stock-photo model.
- Open Google Lens last. Use the Lens screen to crop down to the most distinctive part of the photo — a license plate, a shop sign, a landmark — and search just that crop. This usually breaks the case open when the wide shot has been edited.
- Cross-check the oldest date you find against the claim in the post. If the photo turns out to be five years old, the post is probably a recycle.
This is the same workflow open-source investigators at Bellingcat have written about — they use TinEye date-sort and Yandex face-match together to debunk staged "breaking news" photos within minutes.
Three other things people use this tool for
Photographers checking where their work has been reposted
If you sell prints or run a stock-photo account, a monthly check of your ten most popular images on TinEye and Google Lens will flag anyone reposting them without a credit line. When you find one, you can usually get it taken down with a polite email to the site host before going near a DMCA notice. Keep your originals with EXIF intact — the date stamp inside the file is useful evidence if the case escalates.
Checking if a dating-app photo is real
Romance scammers often reuse the same set of stolen photos across many fake accounts. A Yandex search on a profile picture will frequently show up the same person on a model agency site, a stranger's Instagram, or other dating profiles with different names. If three results come back with three different names, the account is almost certainly a scam.
Finding the cheapest price on a product you only have a photo of
Take a screenshot of the product as it appears on an Instagram ad or TikTok video, upload it, and use Bing Visual Search or Google Lens. Both will show direct shopping links — often the same item on AliExpress, Amazon and a smaller retailer at three different prices. The spread between the cheapest listing and the dropshipped one is often large enough to make the search worth doing.
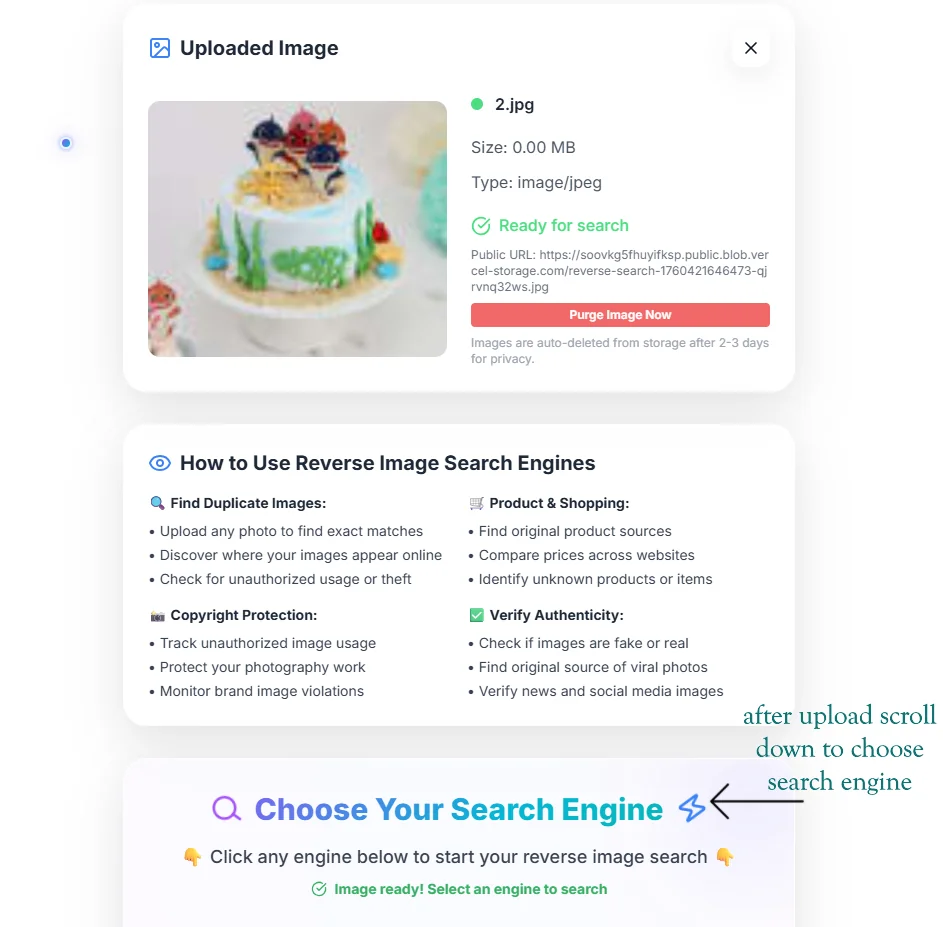
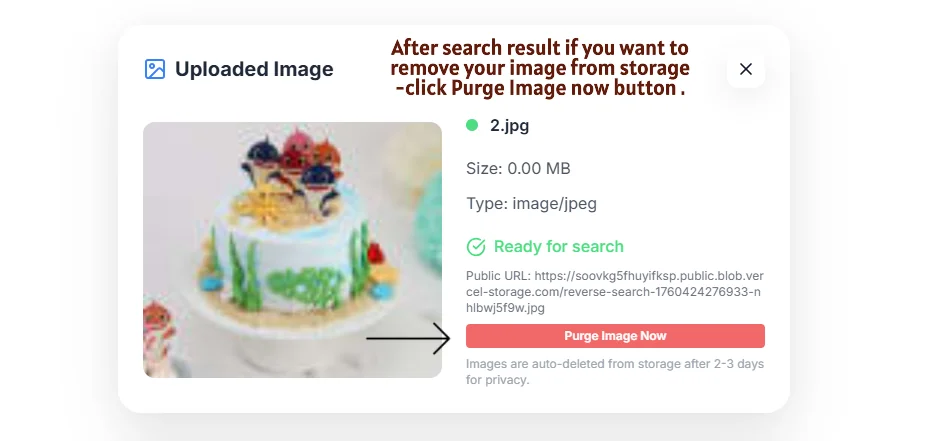
What happens to the photo you upload
Your upload sits on our storage (Vercel Blob) only as long as needed to generate the share link each engine receives. Click the Purge button after your search and we delete the file straight away. We do not train any model on your uploads, sell them, or keep them in a searchable database. The four engines run on their own sites — they each have their own privacy policy, which is worth a glance if you are uploading anything sensitive.
Four small habits that get better results
- •Upload the biggest version you have. A thumbnail produces a coarser fingerprint and fewer matches. If you only have a thumbnail, use Google Lens to find a bigger copy first, then search that.
- •Crop off the borders and watermark before you upload. Anything outside the subject — text overlays, social-media frames, a thick black border — pulls the fingerprint away from the part you care about.
- •If the wide shot fails, search a crop. A license plate, a name badge, a logo or a tattoo are often unique enough on their own.
- •Try a flipped copy as well. Some thieves mirror an image to dodge exact-match detection. Two minutes in any photo editor will produce the flipped copy.
Frequently asked questions
Is this free?
Yes, no signup, no limit on how many searches you can run. The four engines we send to are also free to use directly on their own sites — this page just saves you the four separate uploads.
Can it find photos that are on private Instagram or Snapchat accounts?
No. Search engines only index pages that are public. A photo only on a private account, in a Telegram channel that needs a join link, or behind a paywall will not show up. If a copy of the photo has ever been screenshotted and reposted publicly, that copy can be found.
If I upload my own photos, can people then search for them later?
No. The engines do not index the temporary URL we create — that URL expires and is not linked from anywhere they crawl. Other people would only be able to find your photo if the photo is already published on a public page somewhere.
How accurate is it?
For exact duplicates and small edits — crop, resize, slight colour change — close to 100% across all four engines. For "similar but not the same" matches (the same person in a different pose, the same product in a different photo), Google Lens and Yandex are clearly the best. Heavy edits — a painting style, a deepfake face swap — can defeat every engine.
What file types can I upload?
JPEG, PNG and WebP, up to 10MB. iPhone HEIC files are not supported directly — open the file in the Photos app and use Share → "Save as JPEG" first. Screenshots from your phone are usually PNG and will work as-is.
Notes from the team. We run this tool ourselves and use it most weeks to chase down where stolen photos turn up. If a step in this guide stops working — engines change their interfaces — please tell us and we will update the page.